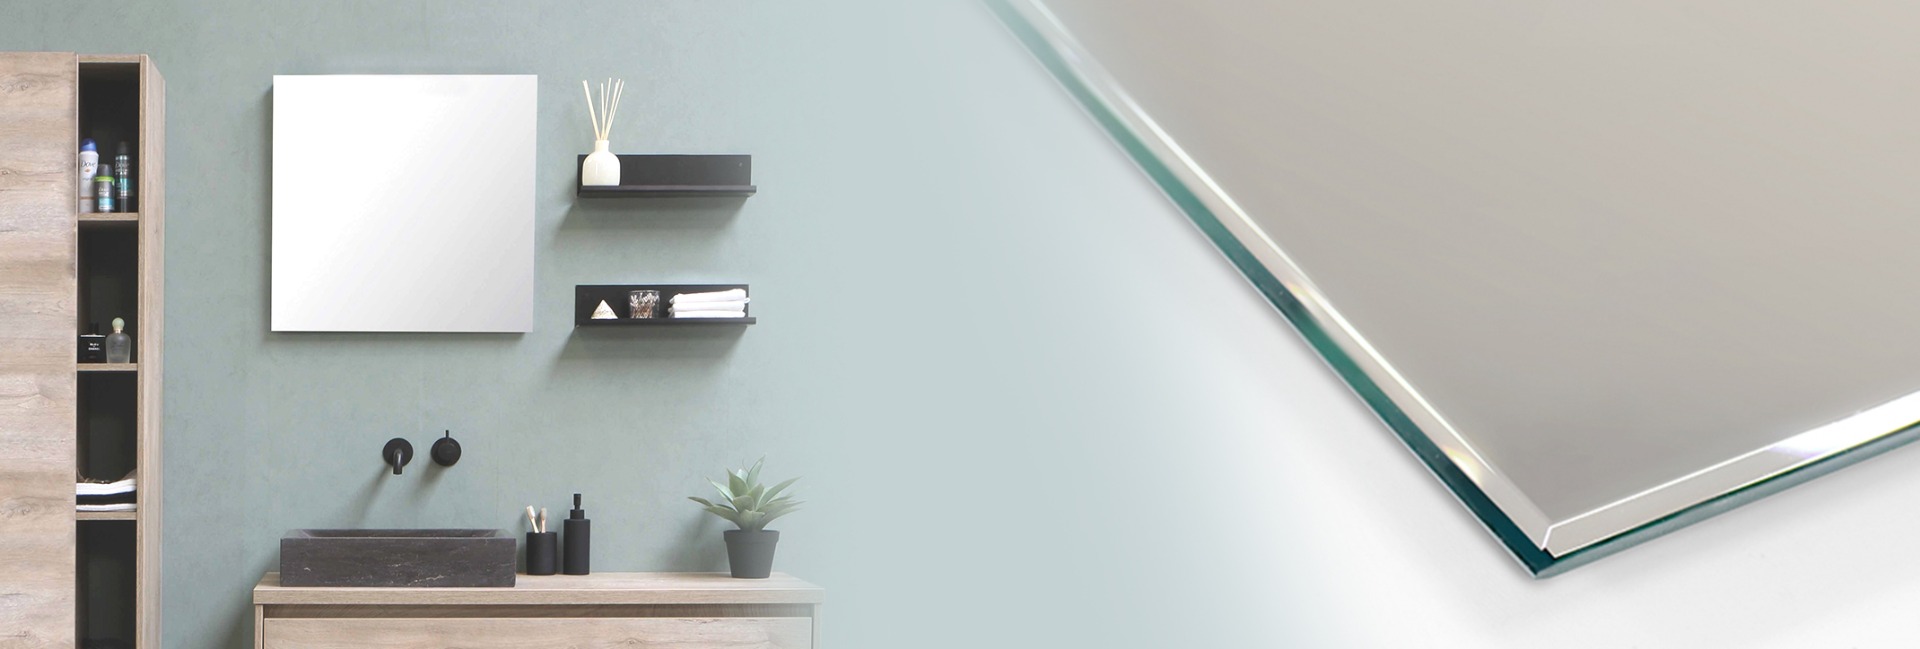


700w Solstice Mirrored Infrared Heating Panel

700w Solstice Mirrored Infrared Heating Panel
Product Description
Heat your room for less with a fantastic infrared heating panel that looks simply stunning. Eco-friendly, efficient, and discreet, these have many advantages over conventional heaters. This panel measures approximately 595mm by 1195mm, and with a power output of 700w, can heat an area of around 11-12m2. With a depth of just 11mm, this looks absolutely incredible when either mounted on the wall or ceiling.
The surface is made from mirrored glass, which looks fantastic, and allows you to use it as an actual mirror. It can reach temperatures of approximately 115C, which is hotter than a traditional radiator. This isn’t a problem, however, as it can be installed well out of reach of any prying fingers – either high up on the wall, or even on the ceiling! With an IP rating of 54 straight out of the box, you don’t have to worry about any mishaps with splashes of water.
| Wattage | 700w |
|---|---|
| Wi-Fi | No |
| Manufacturer | Infrared Group |
| Surface Material | Glass |
| Surface Temperature | 85ºC - 95ºC |
| Dimensions (mm) | 1200mm x 600mm x 11mm |
| Recommended Fixing | Wall |
| Frame Colour | None |
| IP Rating | IP65 - Protected against splashes of water |
| Voltage | 230v |
| Warranty | 5 Years |
Infrared Heating: The Details
Infrared heating is a revolutionary way of heating your home that utilises a completely different technique compared to traditional radiators. It’s far more efficient, and can save you up to 60% on your heating bills! The way it does this is by heating the objects in the room, rather than just the air around it. As the surface area of the objects in the room is far less than the volume of air, it requires less energy to keep you warm.
A conventional heater heats the around it, which rises to the ceiling, cools, and falls again. This causes convectional currents, which can have negative effects on your health. They can promote cold spots, mould growth, and dust circulation, and make the air stuffy. This can aggravate breathing problems, whereas infrared heating is better for your health, as it does none of the above.
An infrared heater fires infrared beams around the room, which bounce off the objects in the room, leaving them warmed. This is completely safe, as it uses the same technology as TV remote controls! Plus, it’s the same heat provided that the sun provides, without any of the nasty UV radiation.
Gorgeous Appearance

With this incredibly stunning mirrored infrared heating panel, you can really overhaul your interior design into one that is über-contemporary and stylish.
You could take advantage of the brilliant IP54 rating by deploying this heater in the bathroom, as there’s protection against any splashes of water. It looks so good, that any visitors to your home won’t believe that it’s a heater.
One feature that many people don’t realise until they already have it, is that this mirror won’t steam up when it’s on.
When it’s emitting heat, it won’t be able to steam up, as the water simply won’t be able to condense on the warm surface. You can also use it in your bedroom, as you can get ready and stay warm at the same time.
Slender Design

With the slim 11mm depth that this heater possesses, you can easily mount this panel extremely flush to the wall.
It won’t obstruct anything, which is why you can leave cumbersome radiators or inefficient portable heaters behind in the past. Take back control of your floor space, and make your room space yours again.
With this gorgeous infrared heater, you can install it snugly against either the ceiling or the wall for a clinical, minimalist look.
Because it heats objects, and not the air, it can be installed high up, without worrying about the warm air rising away from you.
Simple To Install

These infrared panels are very easy to install, and you won’t need any additional help at all.
It’s a complete and utter one-person job, so you can forget about ringing any plumbers, electricians, or carpenters up.
The panels are completely plug-and-play compatible, so the only real work you need to do is get them up on the wall.
Using the included stencil, simply draw through the holes onto the wall, where you want the panel. Just drill into the wall, insert a couple of screws into the wall, and mount the panel using the two rear brackets.
Once the panel is on the wall, all you have to do is simply plug the panel in. It just takes a few minutes to do before you’re up and running!

